Import and export workflows
Aspen workflows can be imported to and exported from your system. This lets you add customized workflows to your system, back up your workflows, and share them with others.
To export a workflow:
- Log on to the
- Click the Admin tab.
- Click the Workflows side-tab.
- Select the workflow you want to export, and click Details under the Workflows side-tab.
- On the Options menu, click Export. The Workflow Export pop-up appears:
-
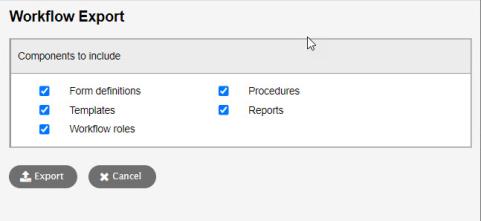
- Select the components of the workflow you want to include.
- Click Export.
- Click Open
or Save. You can now share
the workflow with another user or
To import a workflow:
- Log on to the
- Click the Admin tab.
- Click the Workflows side-tab.
- On the Options menu, click Import. The Workflow Import pop-up appears:
-
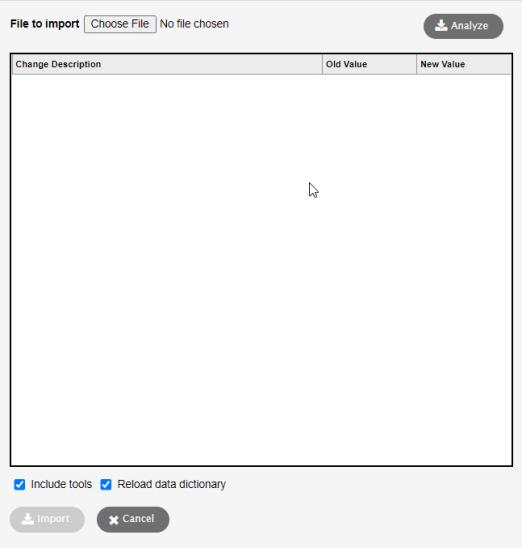
- Click Choose File to navigate to the .zip workflow file you want to import.
- Click Analyze.
- Review what is included in the .zip file:
-
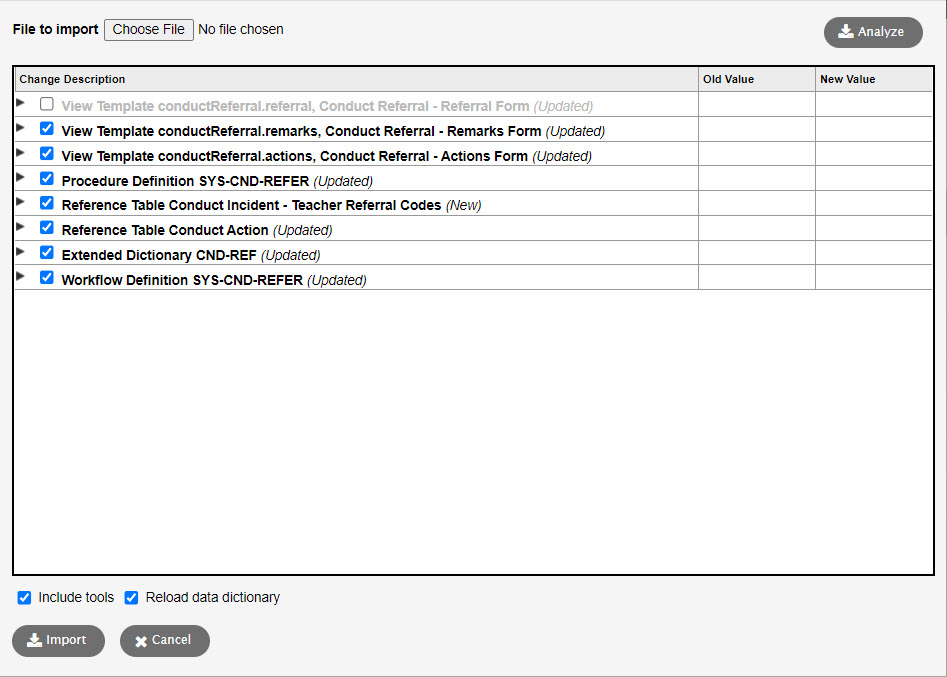
- Click
 to expand the change into its component changes. For example, a change
to a workflow phase might include changes to several fields and record
details.
to expand the change into its component changes. For example, a change
to a workflow phase might include changes to several fields and record
details. - Deselect the checkbox to exclude a part of the workflow from the import.
- Click
 to view the old or the new value.
 - To include reports in the import, select the Include reports checkbox.
- Click Import. The workflow you imported is now available under the Workflows side-tab for you to use or customize to your needs.