Identify available user-defined fields
There are two types of fields in Aspen: system-defined and user-defined. System-defined fields are automatically included with Aspen. User-defined fields (UDFs) are custom fields you create to store additional data for your district.
A field's name conveys which type of field it is. You can find the name on the System Tables > Fields page (District [Root Organization] view, Admin > Data Dictionary > Tables > select a table > Fields). This page displays the list of data fields for the selected table. When the default filter, Enabled Fields, is on, the page displays the fields that are in use for that table:
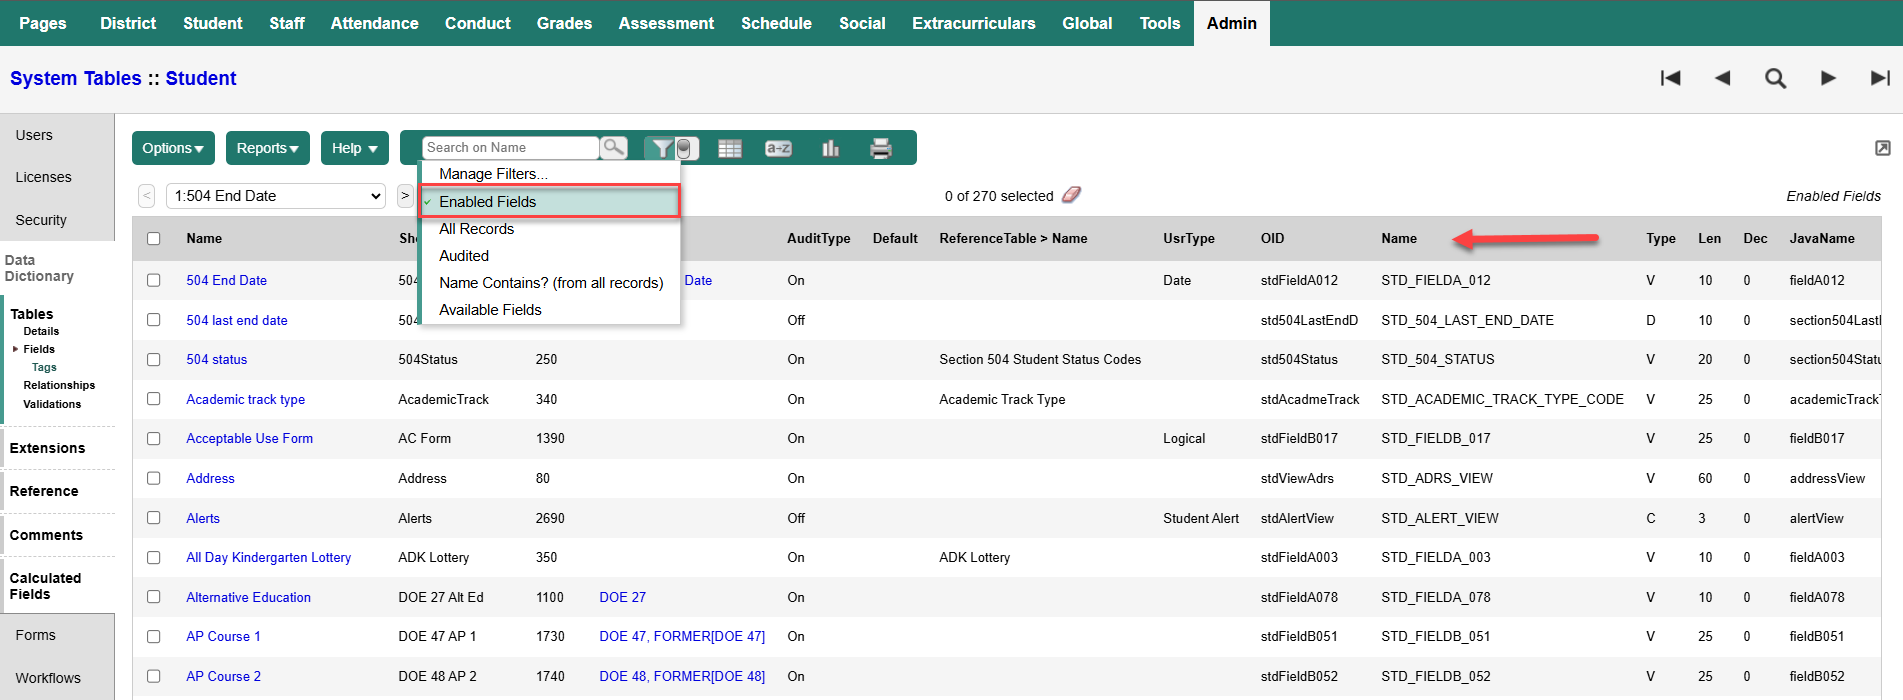
The values in the Name column begin with the object identifier (OID). In the example above, it's STD, which represents the Student system table. For system-defined fields, the rest of the field name contains identifiable words, such as Grade_Level. Otherwise, they are user-defined fields, indicated by their generic names. Most Aspen fields are user-defined.
|
Example: The screenshot above shows fields on the Student system table. The field Alerts has a Name of STD_ALERT_VIEW, which identifies it as a system-defined field. However, the field All Day Kindergarten Lottery has the Name STD_FIELDA_003, indicating it is a user-defined field. |
Before you create a user-defined field, it helps to identify which fields are currently in use. From the Filter menu, select Available Fields. If you do not have this filter, create a query and save it as a filter, using the following steps.
To create the Available Fields filter:
-
Log on to the District (Root Organization) view.
-
Select Admin > Data Dictionary > Tables > select Data Field Config Attribute > Fields.
-
Select Options > Query. The New Query pop-up appears.
-
Use the following table to enter information in the fields.
At this field:
Do the following:
Tables
Leave Data Field Config Attribute as the default.
Fields
Select Enabled.
Operator
Select Equals.
Value
Do not enable this field. Search Criteria
Click Add. Verify Enabled Equals N populates this field. Search based on Select All Records.
-
Click Save As. A second pop-up appears.
-
At Name, type Available Fields.
-
Click Save as filter.
-
Click Save.
-
When the pop-up closes. click the Filter icon and confirm the Available Fields filter appears. This filter displays the fields that are not currently used and could be enabled.