Create medical, legal, and other alerts
Use alerts to let users know about a student’s legal situation, medical
condition, or any other pertinent information.
After you enter an alert, the Legal Alert ![]() or Medical
Alert
or Medical
Alert ![]() icon appears
next to the student’s name on the Student pages in Aspen. Only users with
appropriate privileges can see these icons.
icon appears
next to the student’s name on the Student pages in Aspen. Only users with
appropriate privileges can see these icons.
|
Notes:
|
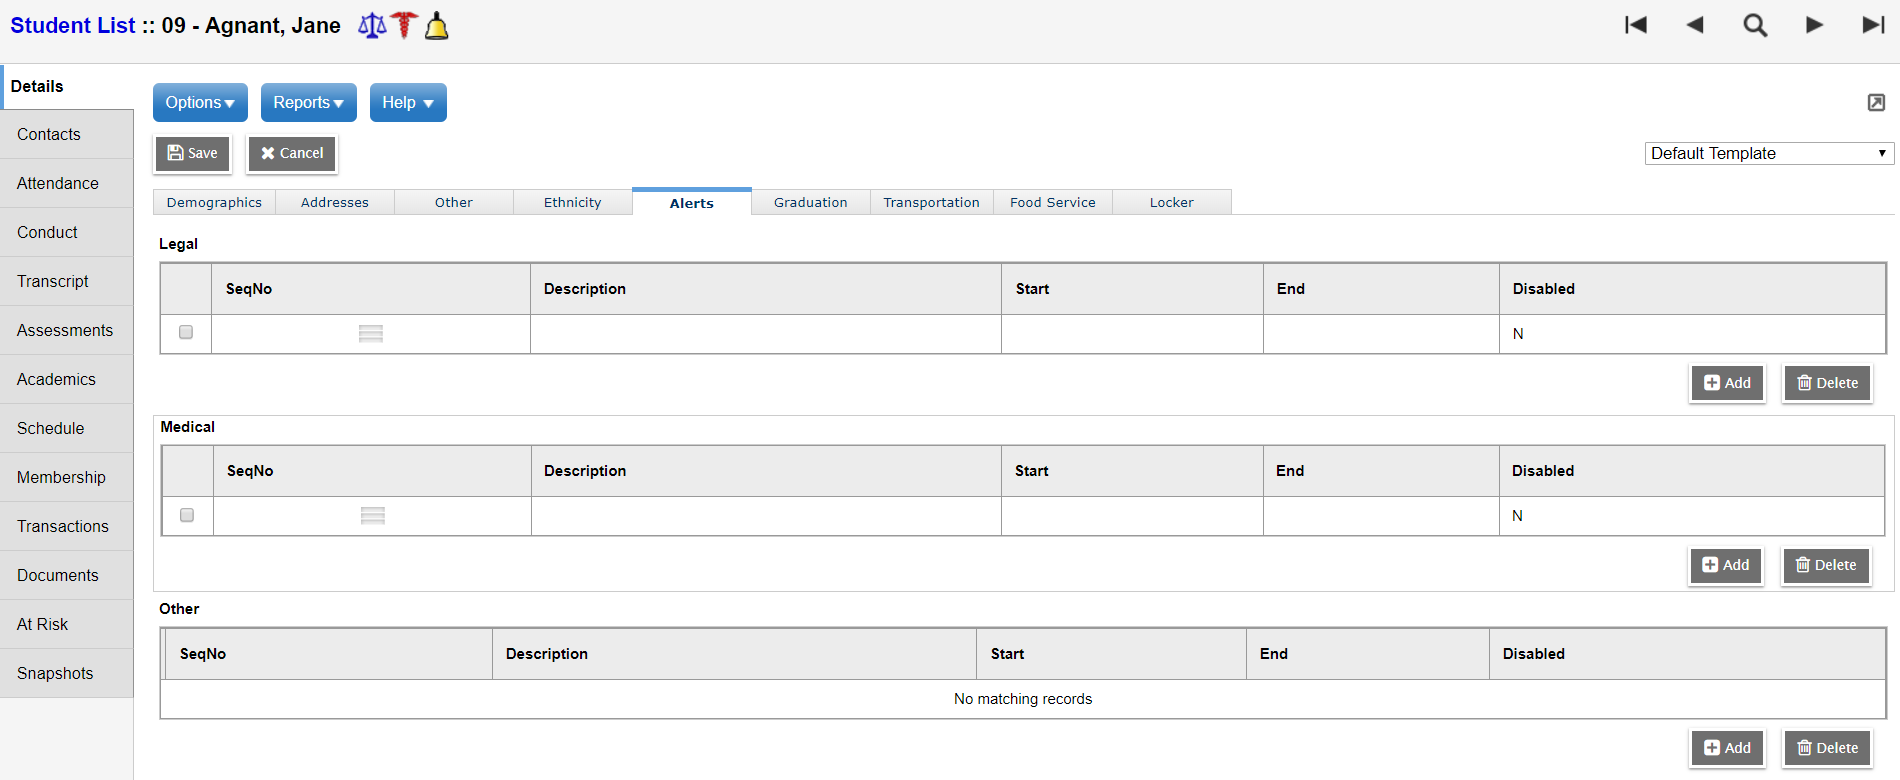
To enter Medical, Legal, or Other alerts:
- Log on to the
- Click the Student tab.
- Search for and select the student.
- Select Details > Alerts. Any Legal, Medical, or Other alerts already created for the student appear.
|
Note: When there is more than one alert under a field, click and drag the Sequence icon |
- Do one or more of the following:
- To add a Legal alert, below Legal, click Add.
- To add a Medical alert, below Medical, click Add.
- To add an Other alert, below Other, click Add.
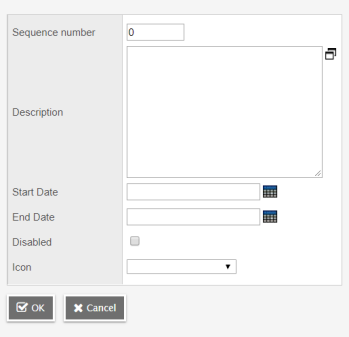
- The Student Alert pop-up appears.
-
-
Field Description Sequence number Type a number to indicate the alert's placement in the breadcrumbs.
Note: This number only applies to the category you are working in. For example, if you have more than one Legal alert, you can determine the order they are listed in (lowest number appears first). You cannot use the Sequence number field to put a Medical alert before a Legal alert.
Description
Type a description of the alert.
Note: If you create an Other alert, click the Icon drop-down to select the icon you want to use to represent this alert for this student. The system groups alerts that use the same icon in the breadcrumbs. Start Date
Enter the date this alert takes effect and appears for the student. You can enter a future date, if needed. The alert stays in effect until the End Date occurs, or it is manually deleted.
End Date
Enter the date on which the alert expires. The alert will no longer appear for this student on or after the date entered here, or it is manually deleted.
Disabled
Select this checkbox to disable the alert so it does not appear for the student.
Note: Disabling the alert here overrides the Start Date and End Date. Icon
This field appears for Other alerts. Use the drop-down to select the icon that represents this alert.
- Click OK.
- Click Save. The system displays the appropriate icon next to the student’s name.
- To view the alert, click the icon.
-
The IEP Alert icon
 appears if the student has an IEP in the Special Education view.
 -
If an IEP, 504, or Other alert icon displays a student's accommodations, those are not the full text of the plan. To see the full text, select Documents > IEPs or Documents > Ed. Plans.
|
Notes: |