Show Selected
Use the Show Selected option to narrow down the group of records you need to view or work with just this one time.
Use Show Selected when you only need to keep a small portion of the records you are currently viewing. Use Omit Selected when you only need to remove a small portion of the records you are currently viewing.
To return to viewing the entire list, click the Filter menu ![]() , and click All Records.
, and click All Records.
|
Note: If there is a group of records that you work with regularly, it makes sense to create a query or snapshot of those records instead. |
To use the 'Show Selected' option:
- Go to any list page, such as the Student List.
- Select the checkboxes next to the names of the students you want to view.
|
Note: The
number of records you selected appears in the record counter |
- From the Options menu, click Show Selected.
-
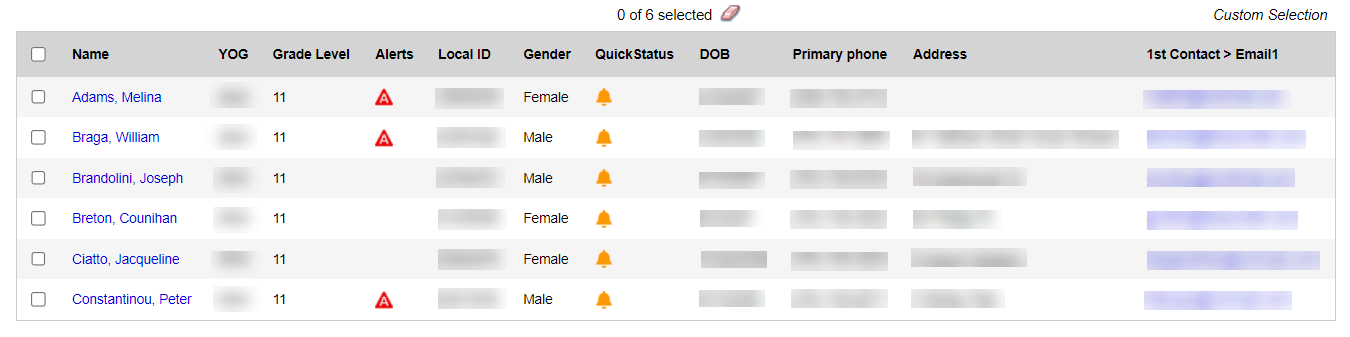
The system displays only the records you selected. Notice that the text below the icons displays Custom Selection to alert you that you are viewing a list of students you filtered.
|
Important: Your list page (in this case the Student List) should display only the records you want to perform a function for or that you want to include on a report. If you only select checkboxes for a few records and then run a report without clicking Show Selected, the report runs for all records – not just those you selected. |